I haven’t had much success with growing grapes here in sub-tropical Queensland, but I have had some luck with coffee. I have a few vines in the garden, but I’ve never got more than a few grams of grapes per year. However, I also have a few coffee bushes, and this year one of them produced a decent amount of berries. I’d made coffee a few years ago, using berries harvested from coffee plants in a friend’s garden, so the process was one that I’m not unfamiliar with.
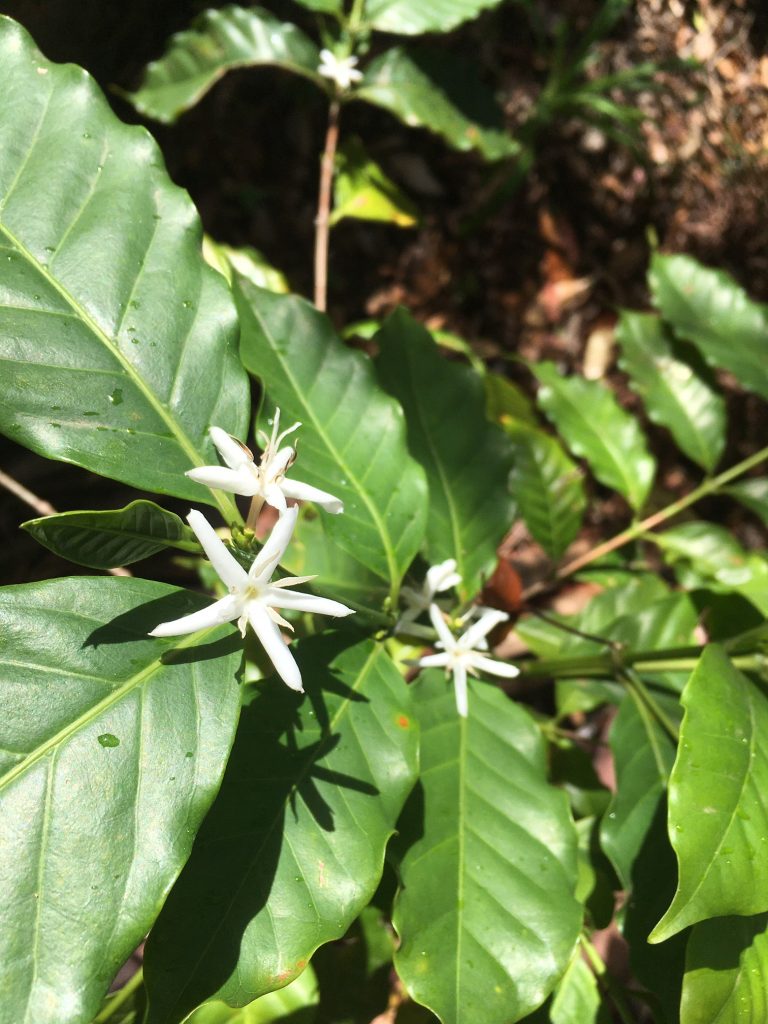
Coffee flowers 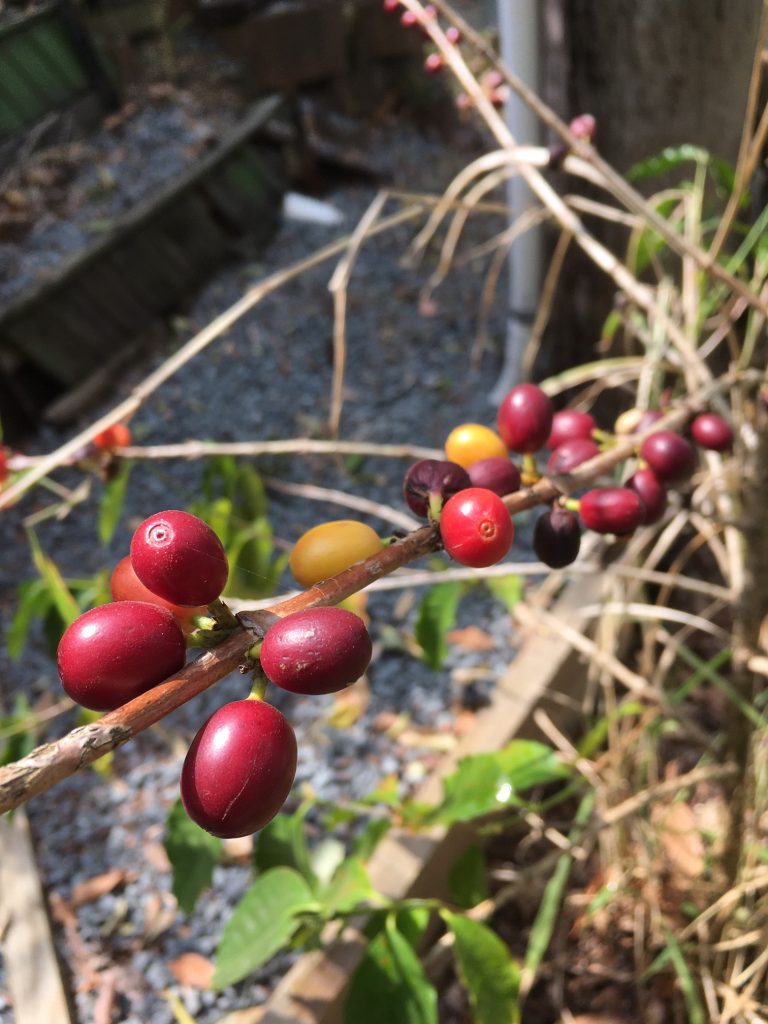
Coffee berries
A short search with Google found some instructions, which I more-or-less followed. Some things, of course, did not go to plan — but then, they never do.
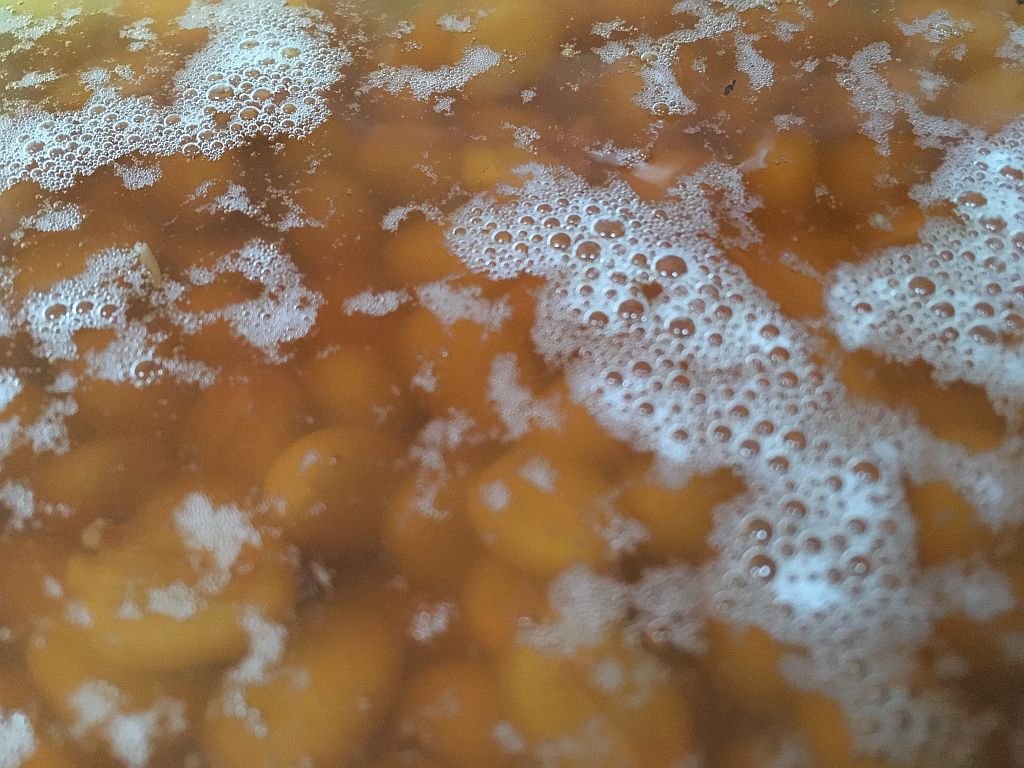
Fermentation
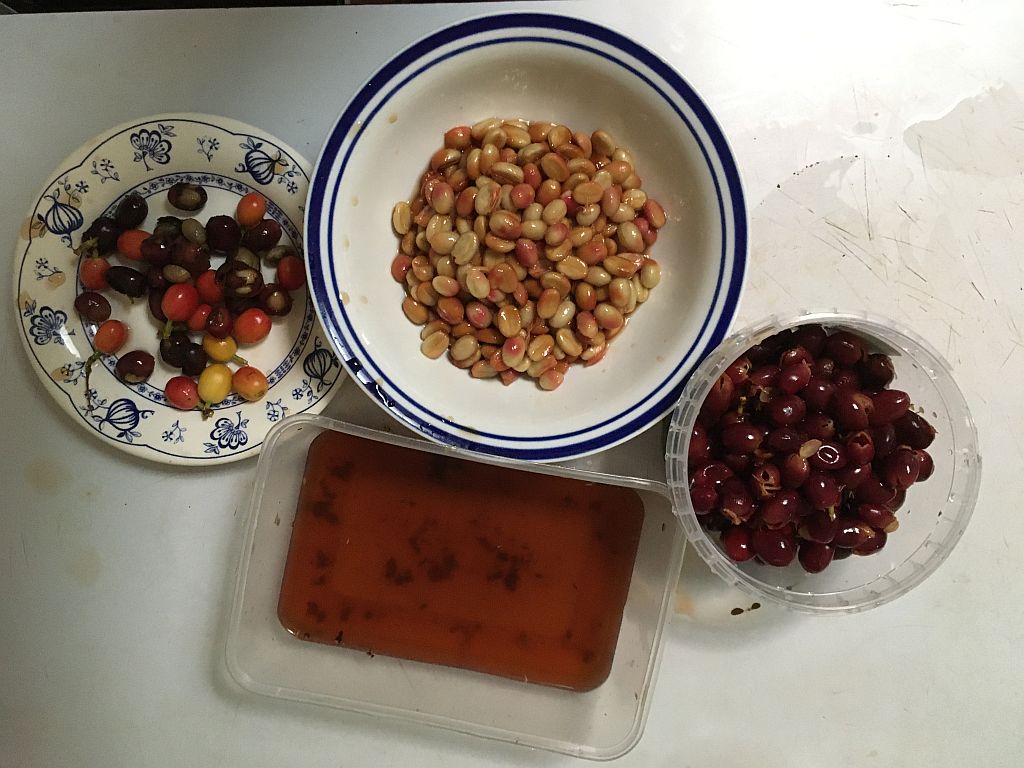
I left the coffee beans overnight in water to soak, and it was subsequently easy to separate the beans (the endosperm) from their fleshy coating (the pericarp).
iPhone SE, built-in 4 mm (~29 mm) lens, 1/25 sec, f/2.2, ISO 200.
One of the first things to mention is that the article linked to above doesn’t discuss selecting for over-ripe or under-ripe berries; this is crucial if you want good-tasting coffee. This is simple enough since these coffee beans will float in water, and these ‘floaters’ can be discarded.
iPhone SE, built-in 4 mm (~29 mm) lens, 1/17 sec, f/2.2, ISO 320.
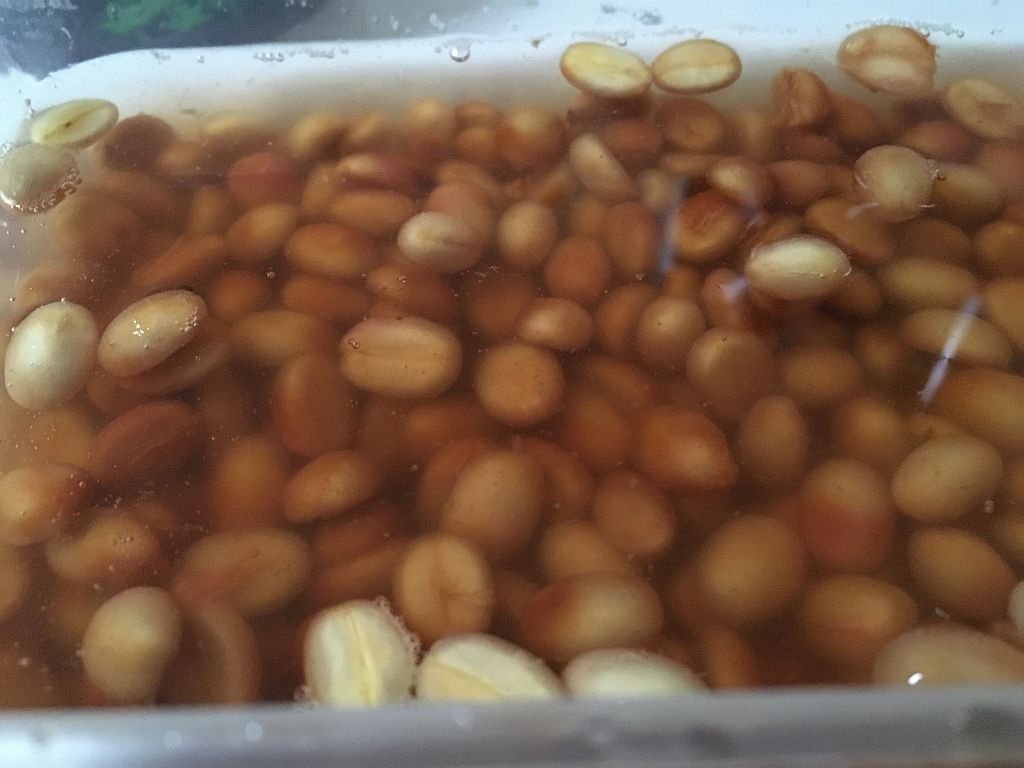
The remaining good coffee beans are then left in another lot of clean water to ferment until they no longer feel slimy, but instead feel chalky. In theory, anyway. As sometimes happens with fermentations, this stopped part way for me. Instead, I rinsed them thoroughly and then dried them out under the griller for a few minutes, so at least they wouldn’t go mouldy.
iPhone SE, built-in 4 mm (~29 mm) lens, 1/17 sec, f/2.2, ISO 320.
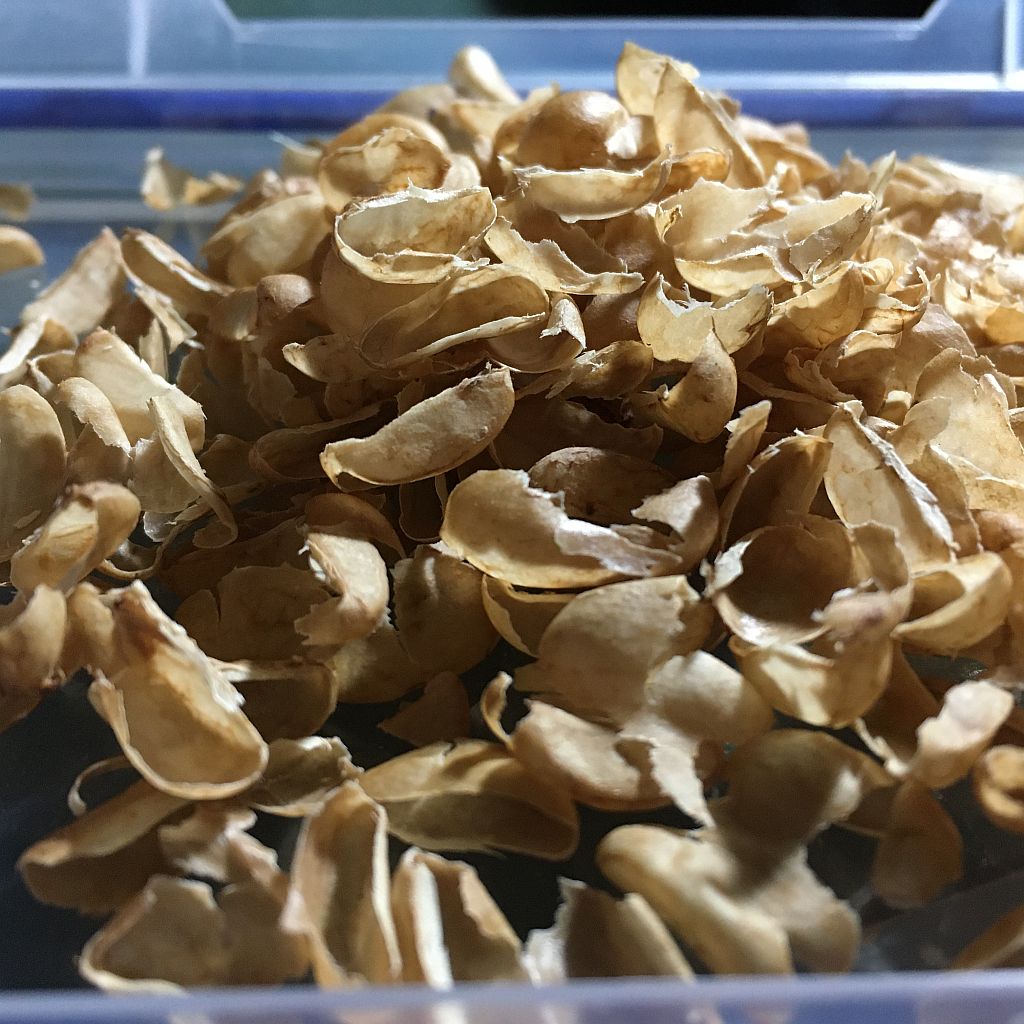
De-husking
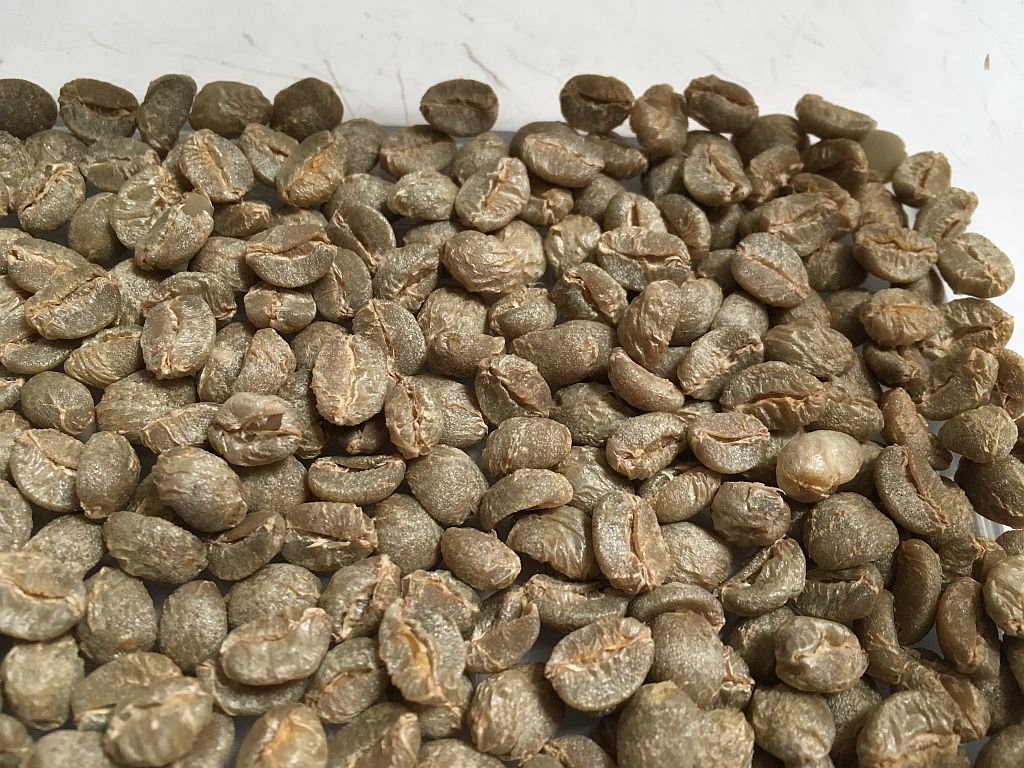
The next part is the tedious part. The berries have a husk that has to be removed, and this took quite a few hours even for a small amount of beans. Eventually I got through it, and then put them aside till I could find time to roast them. I ended up having to throw a few beans out when they started to go mouldy (lesson: don’t store green beans in an air tight container when it’s hot and humid!).
iPhone SE, built-in 4 mm (~29 mm) lens, 1/33 sec, f/2.2, ISO 200.
iPhone SE, built-in 4 mm (~29 mm) lens, 1/33 sec, f/2.2, ISO 125.
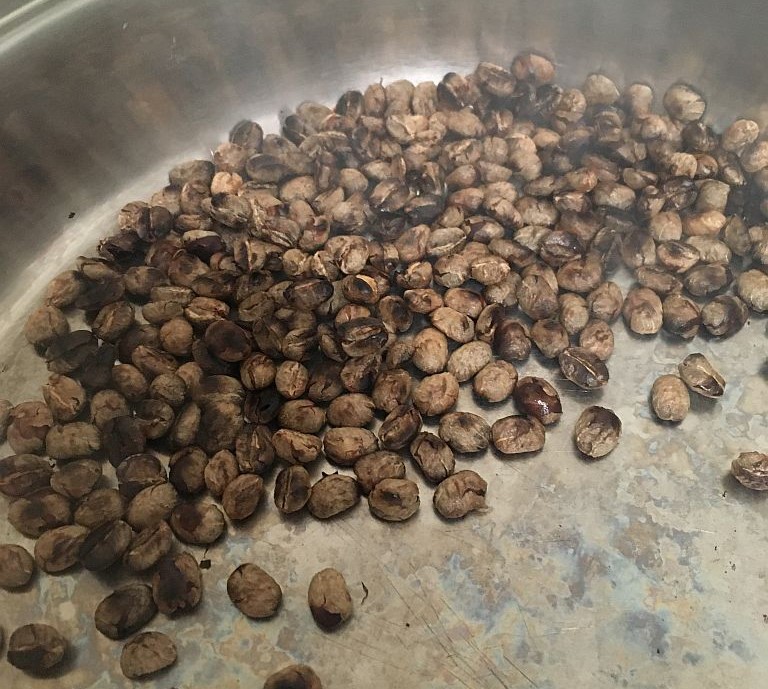
Roasting
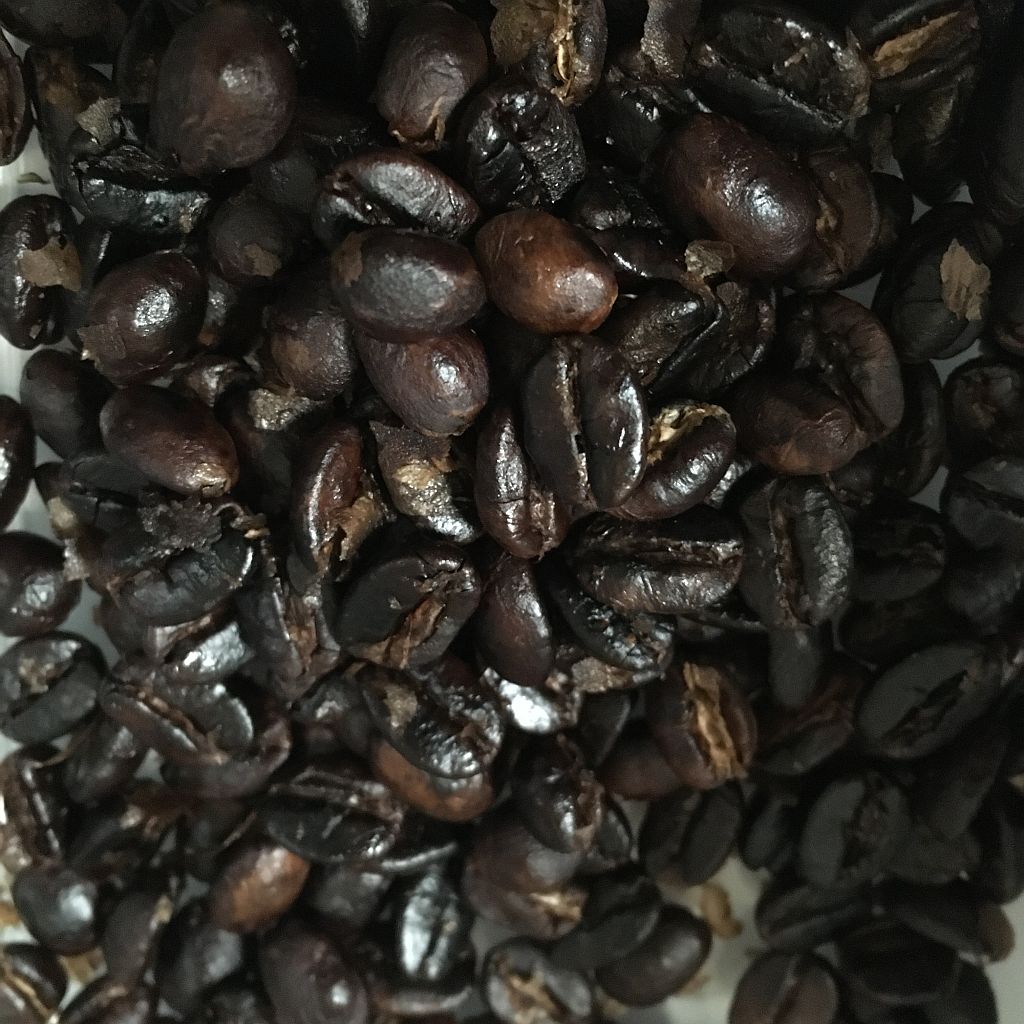
After a while, I finally found time, and decided to roast them. I decided to roast them on the stove top, using a pan with a lid. I found these instructions and these instructions, which I basically followed. Not having a colander, I put a pottery bowl in the freezer for a bit to cool the beans down after roasting. I roasted them over a high heat (or as high as the rather terrible old electric stove I have would allow), until they started to crack again (‘the second crack’). I then put them in the cooled bowl, covered it with cling-film, and left them in the freezer for about five minutes.
iPhone SE, built-in 4 mm (~29 mm) lens, 1/17 sec, f/2.2, ISO 250.
Then another tedious step — removing the chaff. I initially assumed that this was the same as the husks I’d already removed, but no. There’s another layer of chaff. This meant I’d roasted the beans a little more than I’d have liked, as they were quite obviously darker than anticipated once the chaff was removed. Oh well. Also, lacking a colander, I had to remove the chaff by hand. Tedious, but not as tedious as removing the husks.
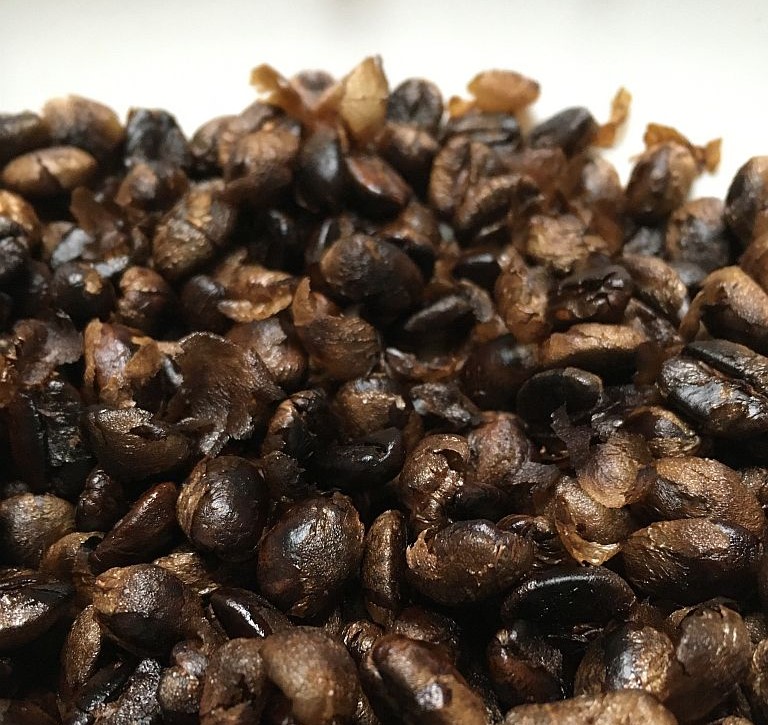
iPhone SE, built-in 4 mm (~29 mm) lens, 1/33 sec, f/2.2, ISO 250.
iPhone SE, built-in 4 mm (~29 mm) lens, 1/17 sec, f/2.2, ISO 800.
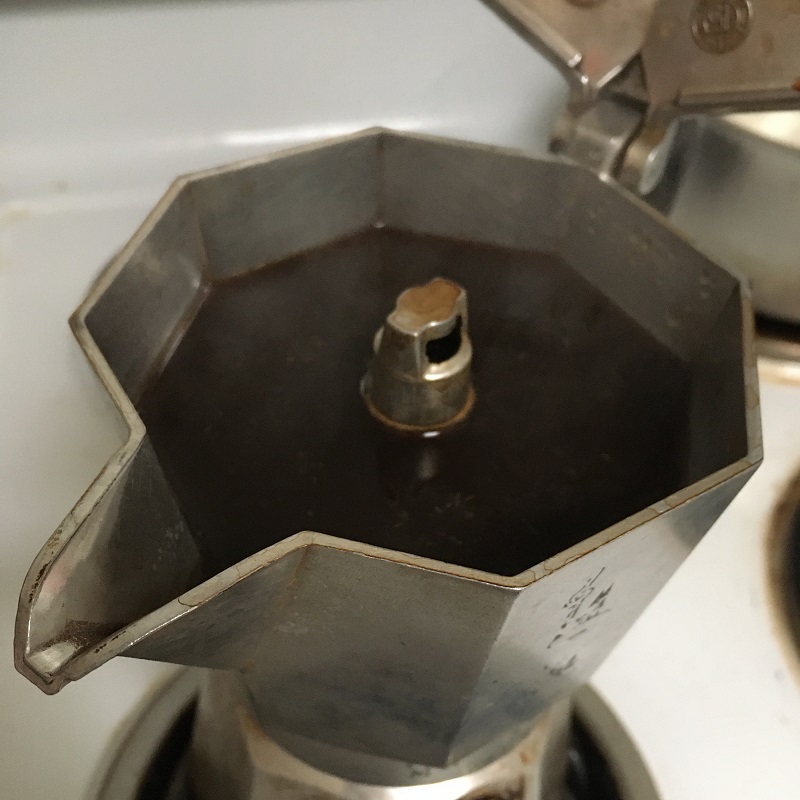
At last, coffee!
Finally, of course, I had to actually try drinking the coffee. It was quite pleasant, but light bodied. Given this, it would have been better with a lighter roast, in retrospect (which is what I’d originally planned!) — it did verge on tasting somewhat charred. However, it was perfectly acceptable, and far from undrinkable. Not the best coffee ever, but okay for a first attempt!
iPhone SE, built-in 4 mm (~34 mm) lens, 1/17 sec, f/2.2, ISO 250.
Note: This project was undertaken during December last year, but I’ve been a bit slow to write a blog post about it!